Trade with QuickAlerts to outsmart onchain markets
Utilize QuickAlerts to gain instant access to crucial market movements, including liquidity fluctuations, wallet activity, and the establishment of new pools, empowering traders to maintain a competitive edge in the rapidly evolving cryptocurrency landscape.
It might seem unbelievable, but the Altcoin season has returned, heralding a buzzworthy era for crypto trading, including the dynamic world of meme coins and the broader crypto trading platforms. In the last month, newcomers like $WIF have not only entered the crypto trading list but have seen a tenfold increase in liquidity, surpassing a market capitalization of 2 billion dollars.
Meanwhile, established cryptocurrencies such as Dogecoin have not just remained idle; they've experienced a whopping 104% surge, climbing from $0.08 to $0.16 within a month. The overall market cap for altcoins, a key figure watched by crypto enthusiasts and those leveraging crypto trading bots for automated strategies, hovers around $1 trillion, with many in the crypto trading community anticipating further growth in the coming months.
Notably, chains like Blast, Base, Avax, ETH, and ARB — significant players on the crypto trading platform stage — have witnessed not just increases in liquidity but the formation of new pools, a vital metric for those involved in crypto options trading and seeking the best crypto trading platform for their needs.
If you're looking to monitor your existing investments or explore new cryptocurrency opportunities, this blog post will guide you through the following topics:
- Monitor events for the token, such as liquidity add and liquidity reduction
- How to monitor wallets for transactions such as buys or sells
- Alerts for New Pools Created
- Alerts for Gas Price fluctuation
- Setting up QuickAlerts on a Discord/Telegram webhook
Now, lets get started:
How to setup an Alert via QuickNode:
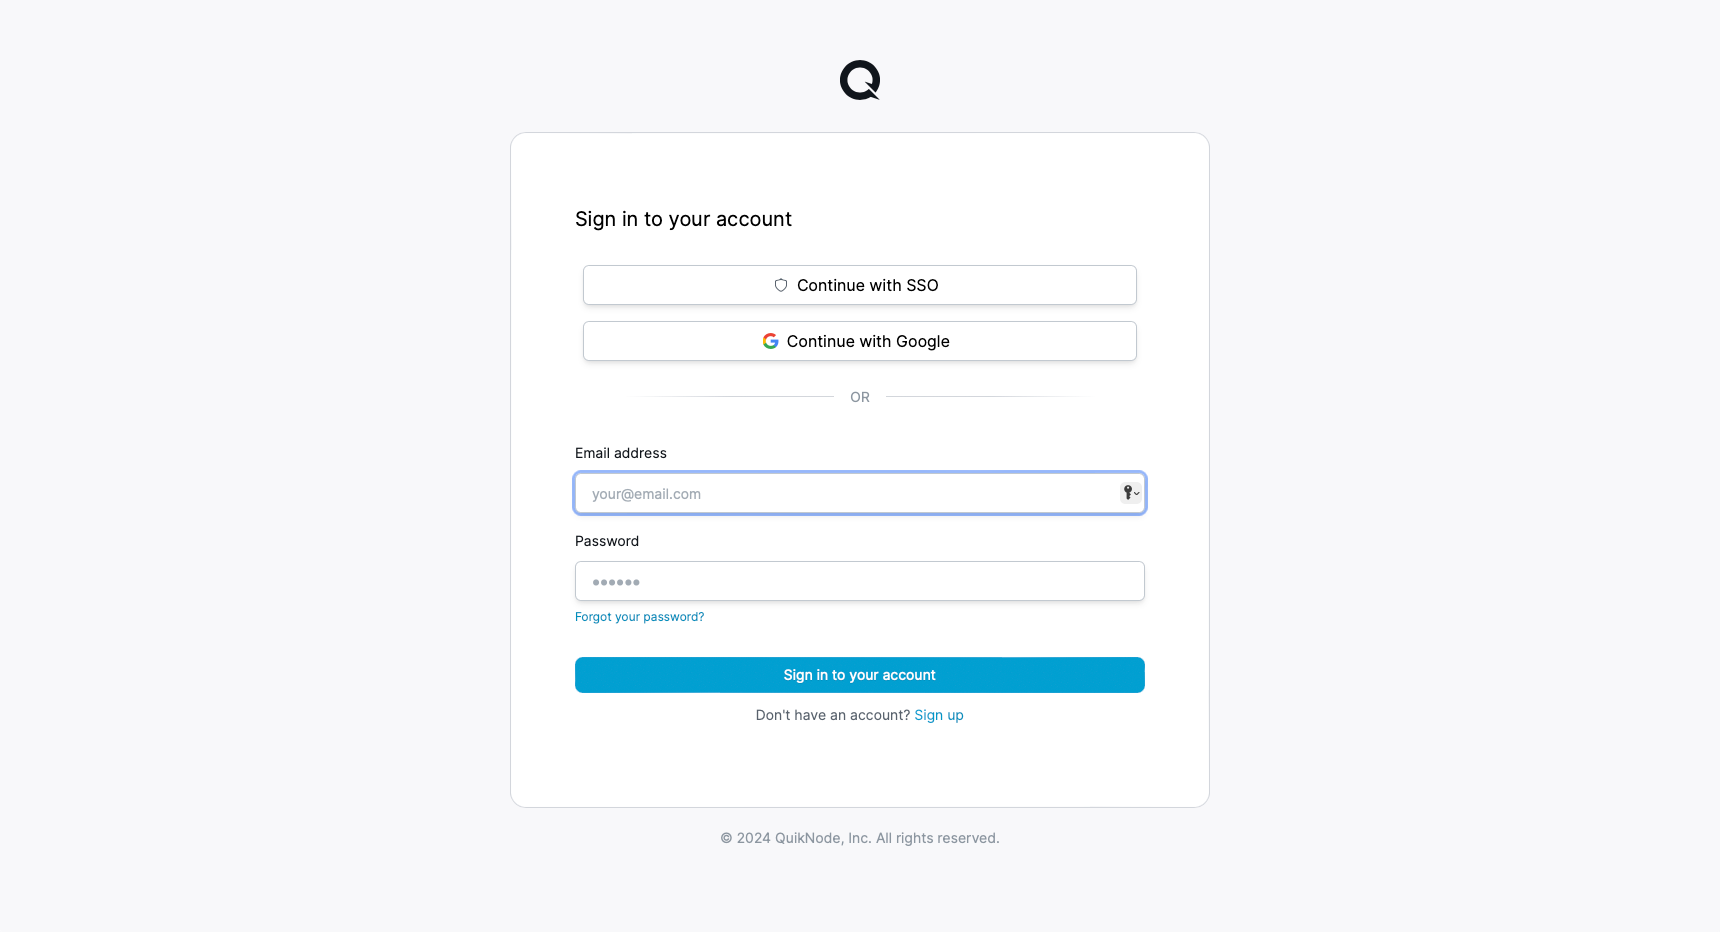
To get started with QuickAlerts, navigate to QuickNode.com and create an account. To access QuickAlerts, you must select the Discover plan, which you can upgrade if needed.
Once done, migrate over to the QuickAlerts Section on the top left corner.
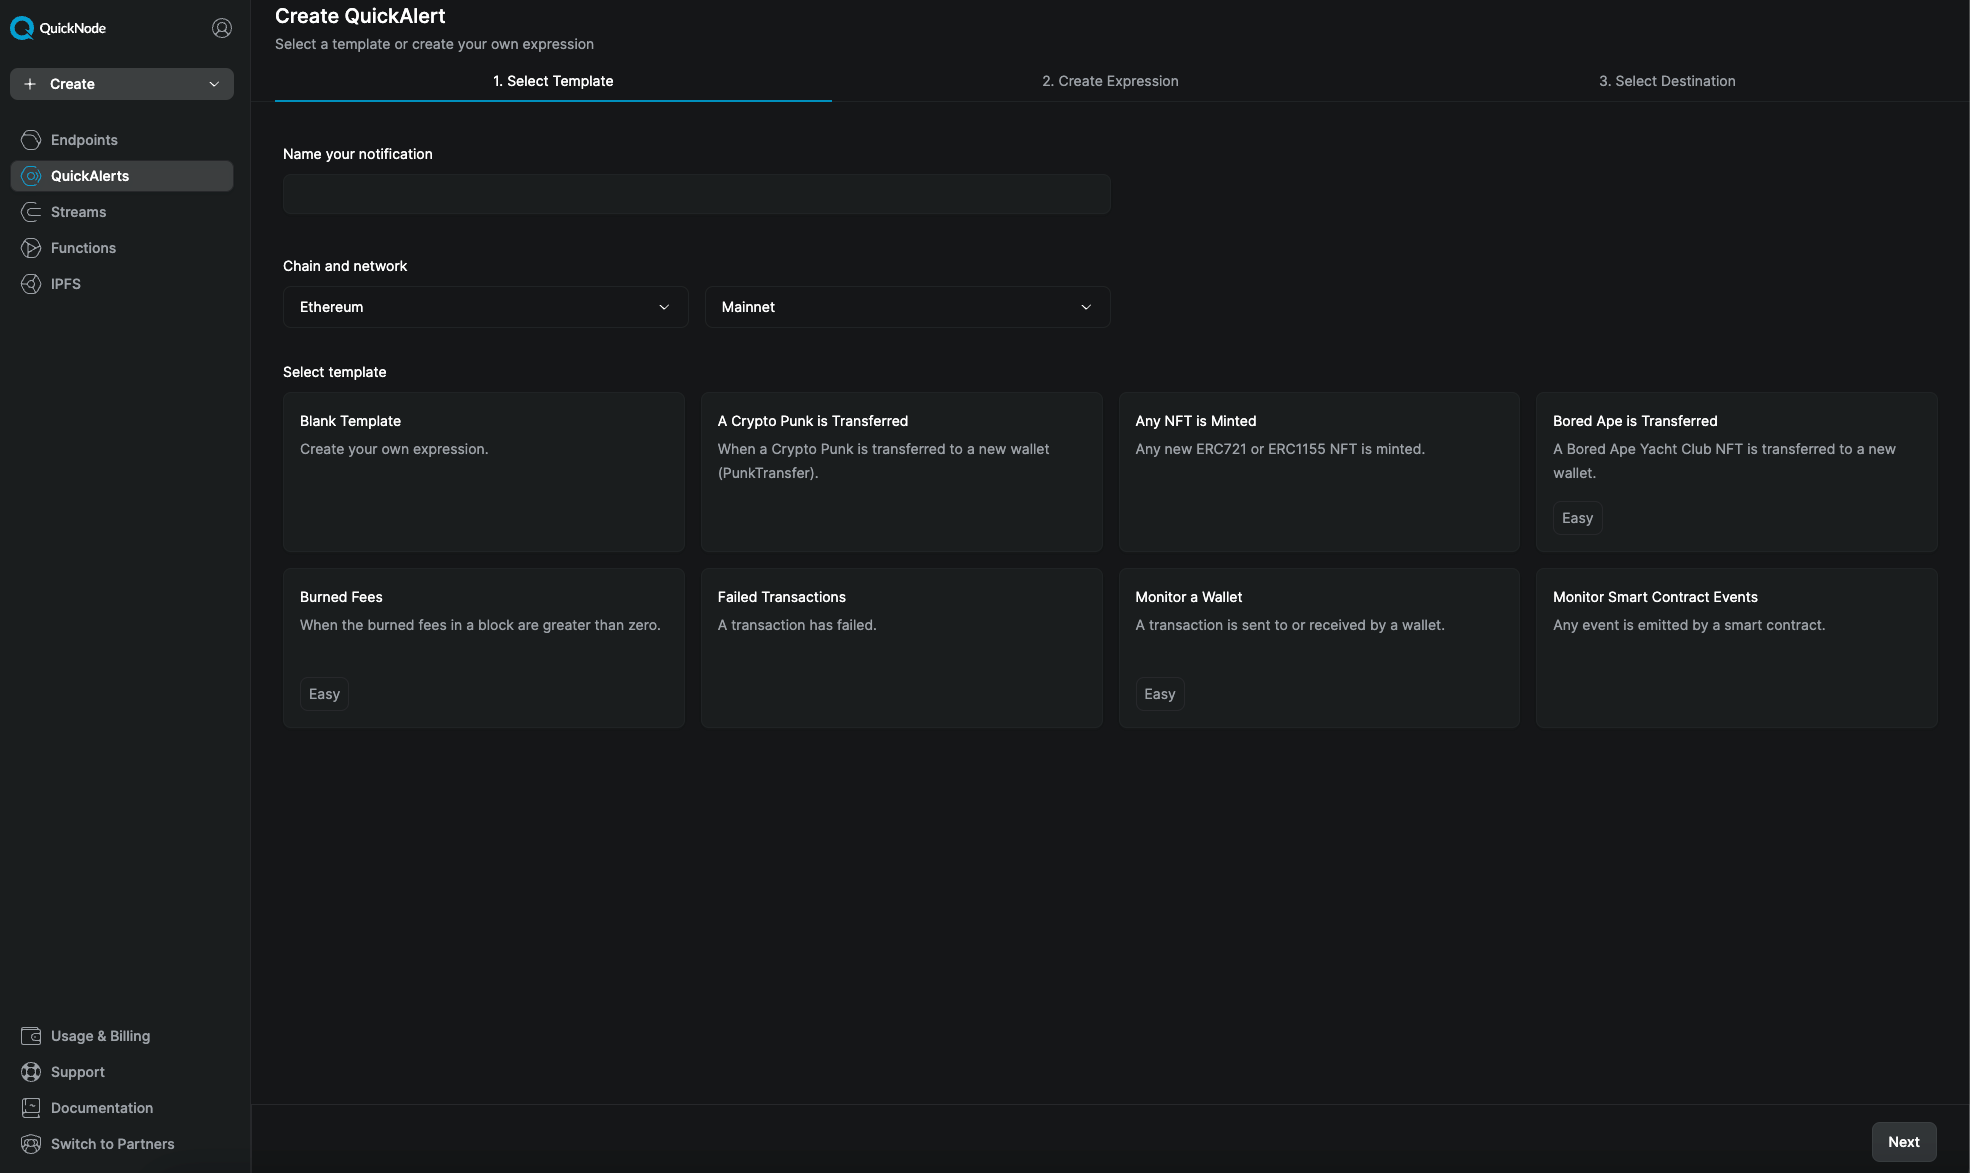
How to monitor liquidity changes per token
Uniswap V2: You would look for Mint or Burn events on the specific pool contract.
tx_logs_address == '0xPoolContractAddress' //please add the address of the pool
&&
tx_logs_topic0 in ['0x4c209b5fc8ad50758f13e2e1088ba56a560dff690a1c6fef26394f4c03821c4f','0xdccd412f0b1252819cb1fd330b93224ca42612892bb3f4f789976e6d81936496'] //mint and burn event topics
Uniswap V3: For Uniswap V3, you want to track liquidity changes. This can involve monitoring specific events related to the liquidity pools. A typical expression could be:
tx_logs_address == '0xUniswapV3PoolContractAddress' && tx_logs_topic0 in['0x7a53080ba414158be7ec69b987b5fb7d07dee101fe85488f0853ae16239d0bde','0x0c396cd989a39f4459b5fa1aed6a9a8dcdbc45908acfd67e028cd568da98982c']
This expression should be adapted to include the actual contract address of the Uniswap V3 pool and the specific event topics for minting and burning in Uniswap V3.
Alerts for Significant Liquidity Add or Reduction
To monitor significant liquidity changes in a token, you could set an alert that triggers when large amounts of tokens are added or removed from a pool:
tx_logs_address == '0xPoolContractAddress' && (tx_value > [ThresholdValueInWei] || tx_logs_data_int > [ThresholdTokenAmount])
Replace [ThresholdValueInWei] and [ThresholdTokenAmount] with appropriate numerical values to define what you consider a significant liquidity change.
How to track a wallet
Track native token transactions:
tx_from == '0xMyAddress' || tx_to == '0xMyAddress'
Track ERC-20 transfers:
(tx_logs_topic0 == '0xddf252ad1be2c89b69c2b068fc378daa952ba7f163c4a11628f55a4df523b3ef') && ((tx_logs_topic1 =~ 'MyAddressWithout0x') || (tx_logs_topic2 =~ 'MyAddressWithout0x')) && (tx_logs_data_int > 0 )
Track NFT Transfers
(tx_logs_topic0 == '0xddf252ad1be2c89b69c2b068fc378daa952ba7f163c4a11628f55a4df523b3ef') && ((tx_logs_topic1 =~ 'MyAddressWithout0x') || (tx_logs_topic2 =~ 'MyAddressWithout0x')) && (tx_logs_topic3_int > 0 )
Replace **0xMyAddress** with the wallet address you wish to track. Replace **MyAddressWithout0x** with the wallet address, but remove the 0x prefix from the beginning of the address.
How to track the creation of new pools
Learn more & deploy with 1-click here: https://www.quicknode.com/docs/quickalerts/quickalerts-expressions/expression-library/uniswap-pool-created
Uniswap V2 Pool:
tx_logs_address == '0x5C69bEe701ef814a2B6a3EDD4B1652CB9cc5aA6f'
&&
tx_logs_topic0 == '0x0d3648bd0f6ba80134a33ba9275ac585d9d315f0ad8355cddefde31afa28d0e9'
Uniswap V3 Pool:
tx_logs_address == '0x1F98431c8aD98523631AE4a59f267346ea31F984'
&&
tx_logs_topic0 == '0x783cca1c0412dd0d695e784568c96da2e9c22ff989357a2e8b1d9b2b4e6b7118'
How to get alerts for Gas Price Fluctuation
To get alerts for when gas prices fluctuate beyond a certain threshold, use an expression like:
block_baseFeePerGas > [UpperThresholdInWei] || block_baseFeePerGas < [LowerThresholdInWei]
Here, replace [UpperThresholdInWei] and [LowerThresholdInWei] with the upper and lower bounds of gas prices you want to monitor.
How to setup QuickAlerts for Discord/Telegram Webhooks
Creating a local webhook receiver using Ngrok is a great way to test webhook integrations like the one for QuickAlerts, Telegram, and Discord without deploying to a server. Ngrok allows you to expose your local server to the internet with a public URL, which you can use as a webhook endpoint. Here's how to set it up:
Step 1: Set Up a Local Server
First, you need to create a local server that can handle incoming webhook requests. Below is a simple example using Python with Flask:
from flask import Flask, request
import requests
import json

app = Flask(__name__)

@app.route('/webhook', methods=['POST'])
def webhook():
    data = request.json
    print("Received data:", data)

    # Format and customize your message here
    message = f"New Alert: My monitored event happened!"

    # Send message to Telegram
    send_to_telegram(message)

    # Send message to Discord
    send_to_discord(message)

    return "Success", 200

def send_to_telegram(message):
    TELEGRAM_TOKEN = 'your_telegram_bot_token'
    TELEGRAM_CHAT_ID = 'your_telegram_chat_id'
    telegram_url = f"<https://api.telegram.org/bot{TELEGRAM_TOKEN}/sendMessage>"
    requests.post(telegram_url, json={"chat_id": TELEGRAM_CHAT_ID, "text": message})

def send_to_discord(message):
    DISCORD_WEBHOOK_URL = 'your_discord_webhook_url'
    discord_data = {"content": message}
    requests.post(DISCORD_WEBHOOK_URL, json=discord_data)

if __name__ == '__main__':
    app.run(debug=True, port=5000)
Replace your_telegram_bot_token, your_telegram_chat_id, and your_discord_webhook_url with your actual Telegram and Discord webhook details.
For Telegram:
- You can get your Telegram bot token by messaging
/newbotto@botfatherin Telegram and following the prompts. - Once you have your token, add the bot as an admin to the channel or group where you want the messages to appear. The token is
**your_telegram_bot_token**. - After you have added the bot, visit this URL in the browser. Replace
<bot_token>with your bot token:https://api.telegram.org/bot<bot_token>/getUpdates - Look for the
chatobject in the response and copy itsid- this is**your_telegram_chat_id**
For Discord:
- Go to your channel’s settings, choose integrations, and create a webhook. Then click the “Copy Webhook URL” button. This is
**your_discord_webhook_url**
Step 2: Install Flask and Ngrok
- Install Flask: Run
pip install flaskif Flask is not already installed. - Install Ngrok: Download and install Ngrok from ngrok.com.
Step 3: Run Your Local Server
- Start your Flask app by running
python <your_script_name>.pyin your terminal.
Step 4: Set Up Ngrok
- Open another terminal window and run
ngrok http 5000(assuming your Flask app is running on port 5000). - Ngrok will provide you with a forwarding URL (e.g.,
https://abc123.ngrok.io).
Step 5: Use Ngrok URL in QuickAlerts
- In QuickAlerts, use the Ngrok URL followed by
/webhook(e.g.,https://abc123.ngrok.io/webhook) as the webhook URL.
Step 6: Test the Webhook
- Trigger an alert from QuickAlerts and monitor your Flask server's output.
- If everything is set up correctly, your server will receive the data, and messages will be sent to your Telegram and Discord.
Dive Deeper Into QuickAlerts here.
This setup is ideal for testing and development purposes. However, remember that Ngrok sessions are temporary, and the URLs change when you restart Ngrok, so this is not a permanent solution. For long-term deployment, consider using a cloud-based server or a serverless platform.
Have any questions on how to setup your QuickAlert? Reach out to us in our Community Discord.
With these steps, you've laid the groundwork for integrating QuickAlerts with your Telegram and Discord channels, creating a seamless bridge between your alerts and your preferred communication platforms. By leveraging Telegram and Discord webhooks, you've enabled real-time notifications that keep you and your team informed of critical alerts without delay. While the Ngrok solution offers a fantastic way to test and develop your integration, remember it's a starting point. For a more robust, always-on solution, moving to a stable, cloud-based or serverless environment will ensure your alerts are always delivered, regardless of local system status.
We've been heads down at QuickNode, designing solutions transforming your trading journey from the ground up.
Our platform boasts API speeds 2.5 times faster than the competition, alongside instant access to real-time data across more than 29 blockchain networks. Accelerating your transactions isn't just about accelerating your transactions; it's about equipping you with the precision and insights needed to secure that all-important trading advantage.

About QuickNode
QuickNode is building infrastructure to support the future of Web3. Since 2017, we've worked with hundreds of developers and companies, helping scale dApps and providing high-performance access to 29+ blockchains. Subscribe to our newsletter for more content like this, and stay in the loop with what's happening in Web3!


